|
This page talks about my brewery, with a little information about the all
grain process used to make beer. For more information on how to make
excellent beer, there are a lot of great sources on the internet, as well as
many great books.
A good start would be at John Palmer's
How to Brew web site. This will give you a good idea of what is
involved in home brewing. An even simpler explanation of what happens when
beer is brewed can be found in
How Beer Works.
Of course it is a lot easier to work with a hard copy book. Many people
start with Charlie Papazian's The New Complete Joy of Home Brewing, or
with Dave Miller's Homebrewing Guide. John Palmer also has a book
called How to Brew, which I found to be pretty good, and more up to date
than the Papazian or Miller books. You can find any of these books in the
Association of
Brewers (Beertown) Catalog, John Palmer's
web site, or Amazon.com.
Before you look at my brewery and think, "this will definitely cost too much
money for me", please understand that I have gone way beyond what is necessary
to have fun with brewing. Most homebrewers take pride in brewing for very
little money. You can get started easily for under $100. Some
example starter kits can be found at Beer, Beer and More Beer's
Beginner Equipment Kits. As you can see, you can spend as little or as
much as you want on this. While I do like BB&MB as a vendor, please try to
find a local homebrew store and buy this kind of equipment and ingredients from
there. Generally they will be happy to give you advice and help you get
started.
| Most of this equipment came from
Beer, Beer and More Beer (not
affiliated, yada yada yada).
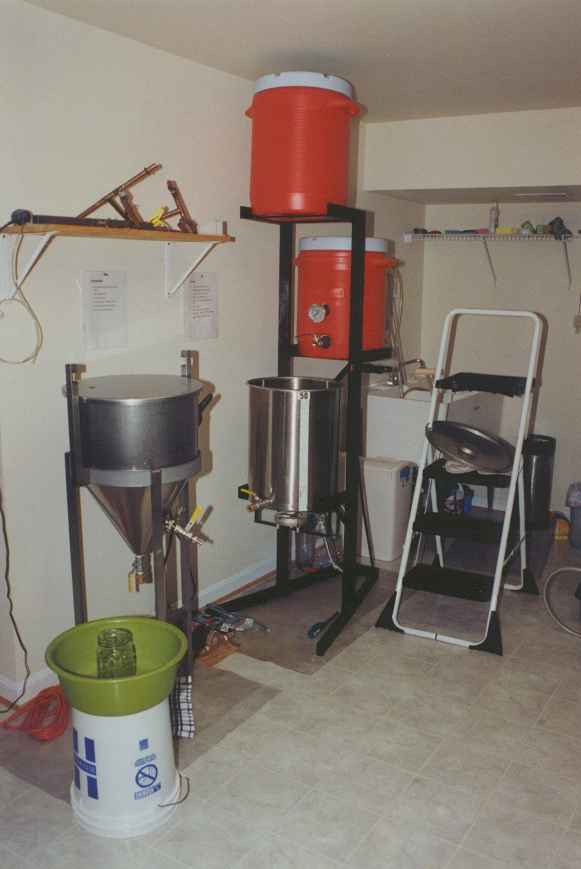
Here you see a three tier gravity feed system, which has
ten
gallon Rubbermaid coolers for the hot liquor tank on top, and the mash/lauter
tun in the middle. The
14
gallon kettle is heated with natural gas, which was piped in to the
basement when the house was built. Luckily the basement has nine foot
ceilings, as the brew stand barely fits. On the left is a 12.2 gallon conical fermenter, similar to
More Beer's current product, where all the good stuff happens. Behind the step ladder
is a laundry tub for cleaning. This setup is used to make ten gallon
batches. |
 |
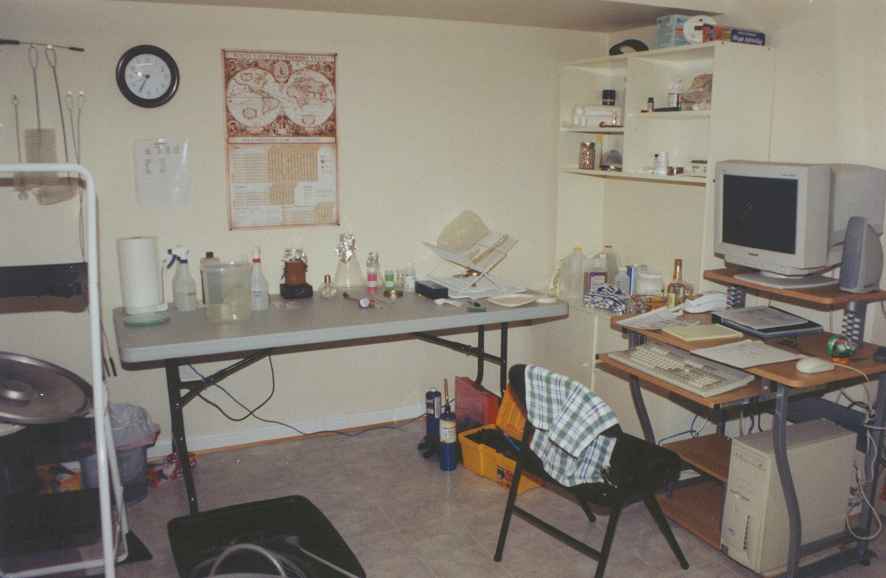 |
There's a work table on which is kept the
magnetic stir plate for
yeast starters, refractometer, thermometers, drain,
sanitizers, etc. The computer is used to run
ProMash, and for web browsing, reading
email, etc., during brew sessions. |
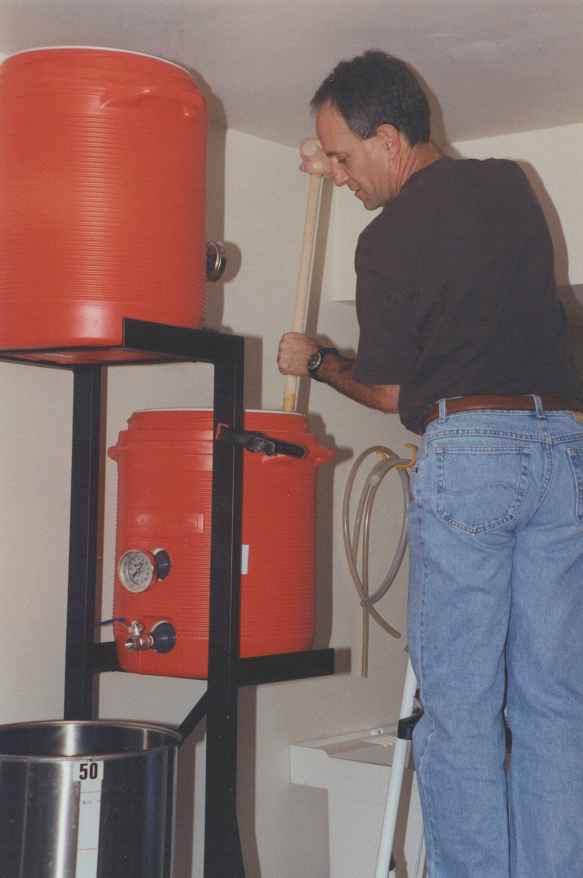
| Brew day starts with sanitation of hoses,
connecting pieces, ball valves, etc., and grinding of
the malt. The water is heated in the kettle while the grain is ground. After
hot water is mixed with the grain, the ensuing "mash" has to be stirred thoroughly to break
up any dough balls. While the mash sits, water is heated
to about 190°, and pumped up to the hot liquor
tank. The temperature drops quite a bit during the pumping process,
down to about 170-180°. |
 |
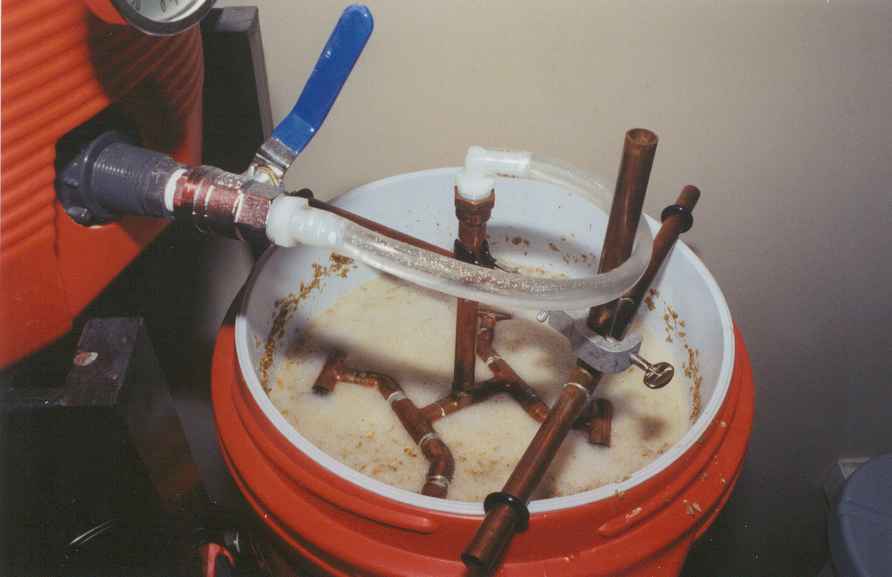 |
After the mash sits for 60 minutes or so, the
sweet wort is drained to the kettle, while the hot sparge water settles on top.
Here is the sparge manifold which is used to settle the hot water gently on
top, while the kettle fills. The
lab clamp which holds the manifold to the manifold stand came from
Cynmar Corporation. You can't find
something like this at Lowes or Home Depot. |
| Hops are added to the sweet wort, and the
mixture is boiled for 60-75 minutes. A good hot break can be seen in the kettle,
about 60 minutes or so into the 75 minute boil. The
immersion chiller can be
seen at the bottom right. The bags containing the hops are in the
middle.
After the wort is cooled, it is pumped into the
fermenter, leaving the proteins of the hot break behind. It is aerated with an aquarium pump
to ensure good yeast growth, and the yeast is pitched into the wort. The
beer is fermented for about two weeks, then put into cornelius kegs. |
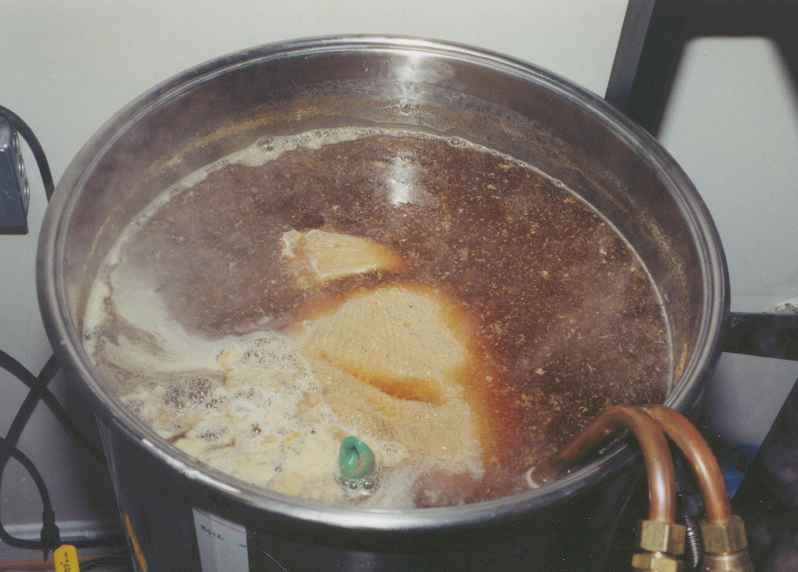
My wife said "yuck" when she saw this picture, but
all of the floaty stuff gets removed before you drink it. |

 hits since November 10, 2002
|